Enabling Remote Sound
There may be use cases where you want sound to play from your remote VPS to your home PC, luckily this is a relatively simple task.
Start the Remote Audio Service
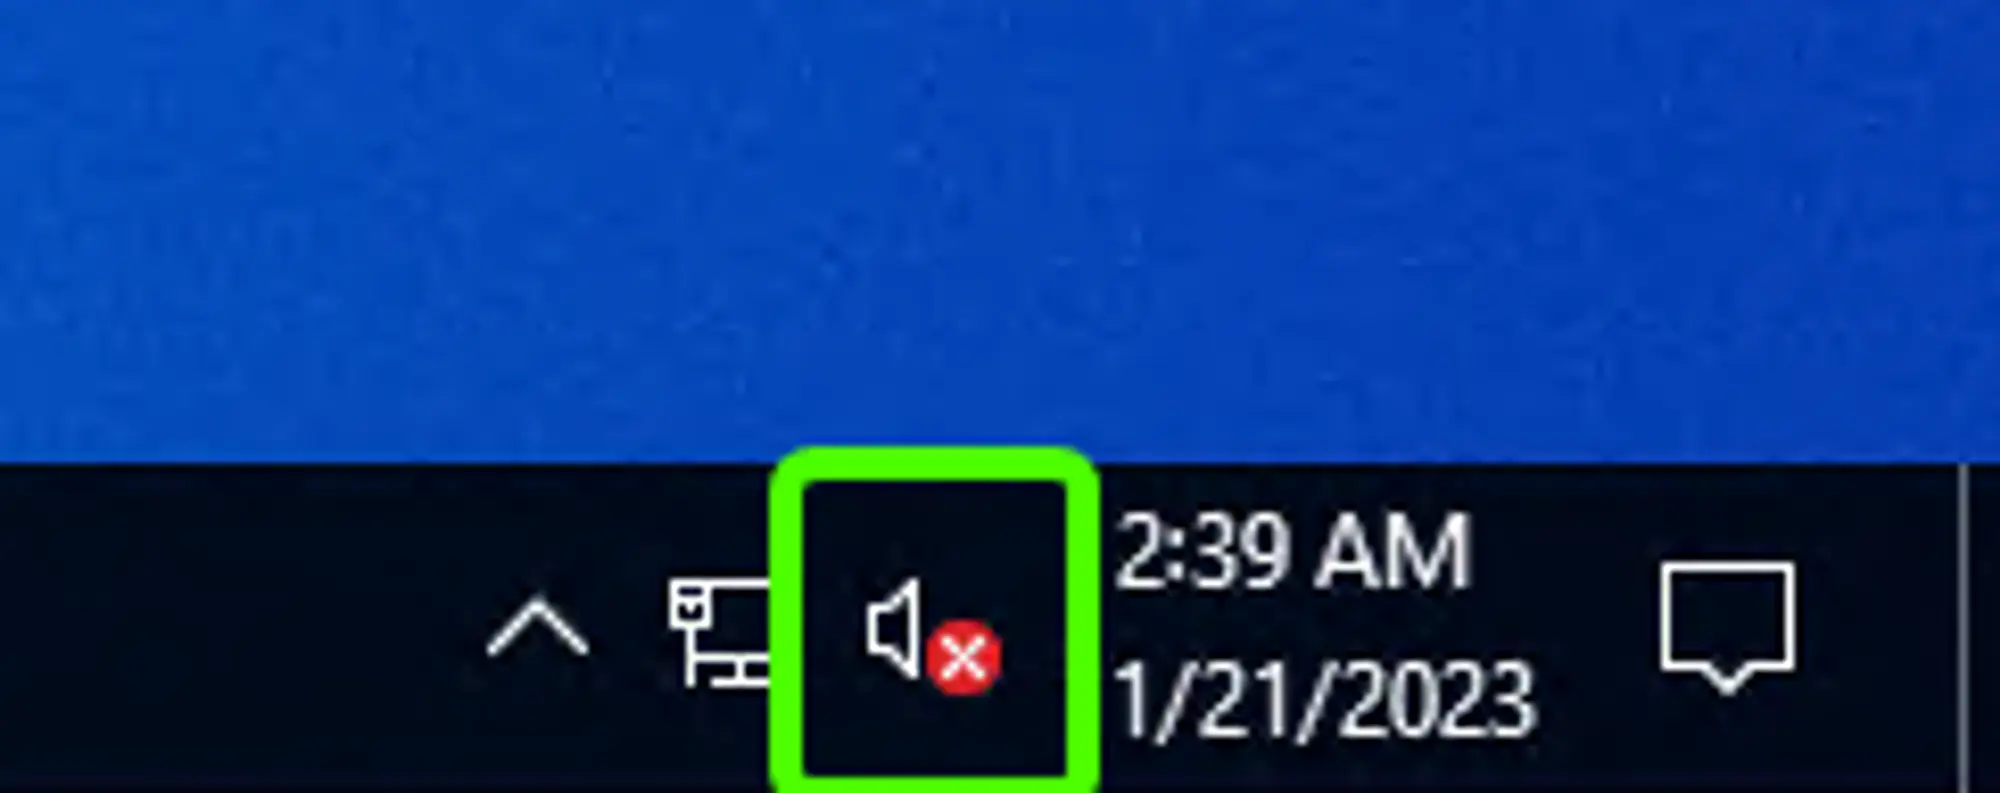
You’ll want to start by checking the sound icon in your task bar, located in the bottom right hand corner by default. If sound isn’t enabled it should look like the image to the right.
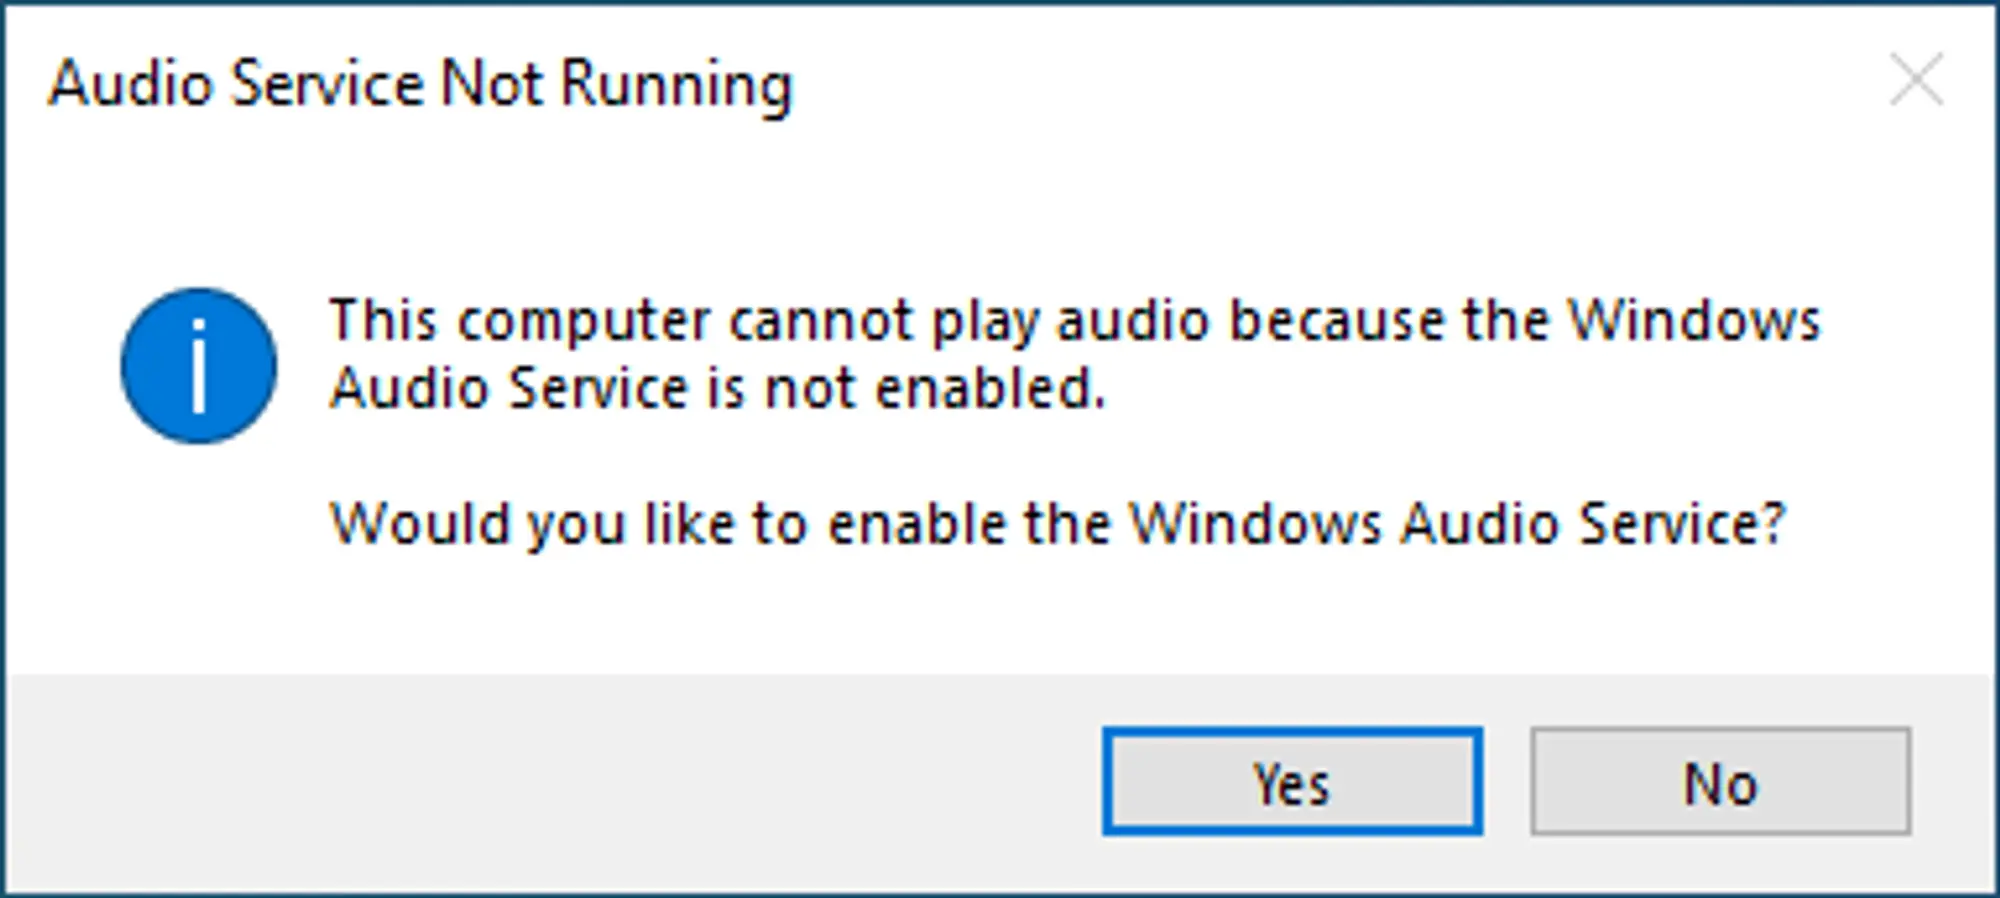
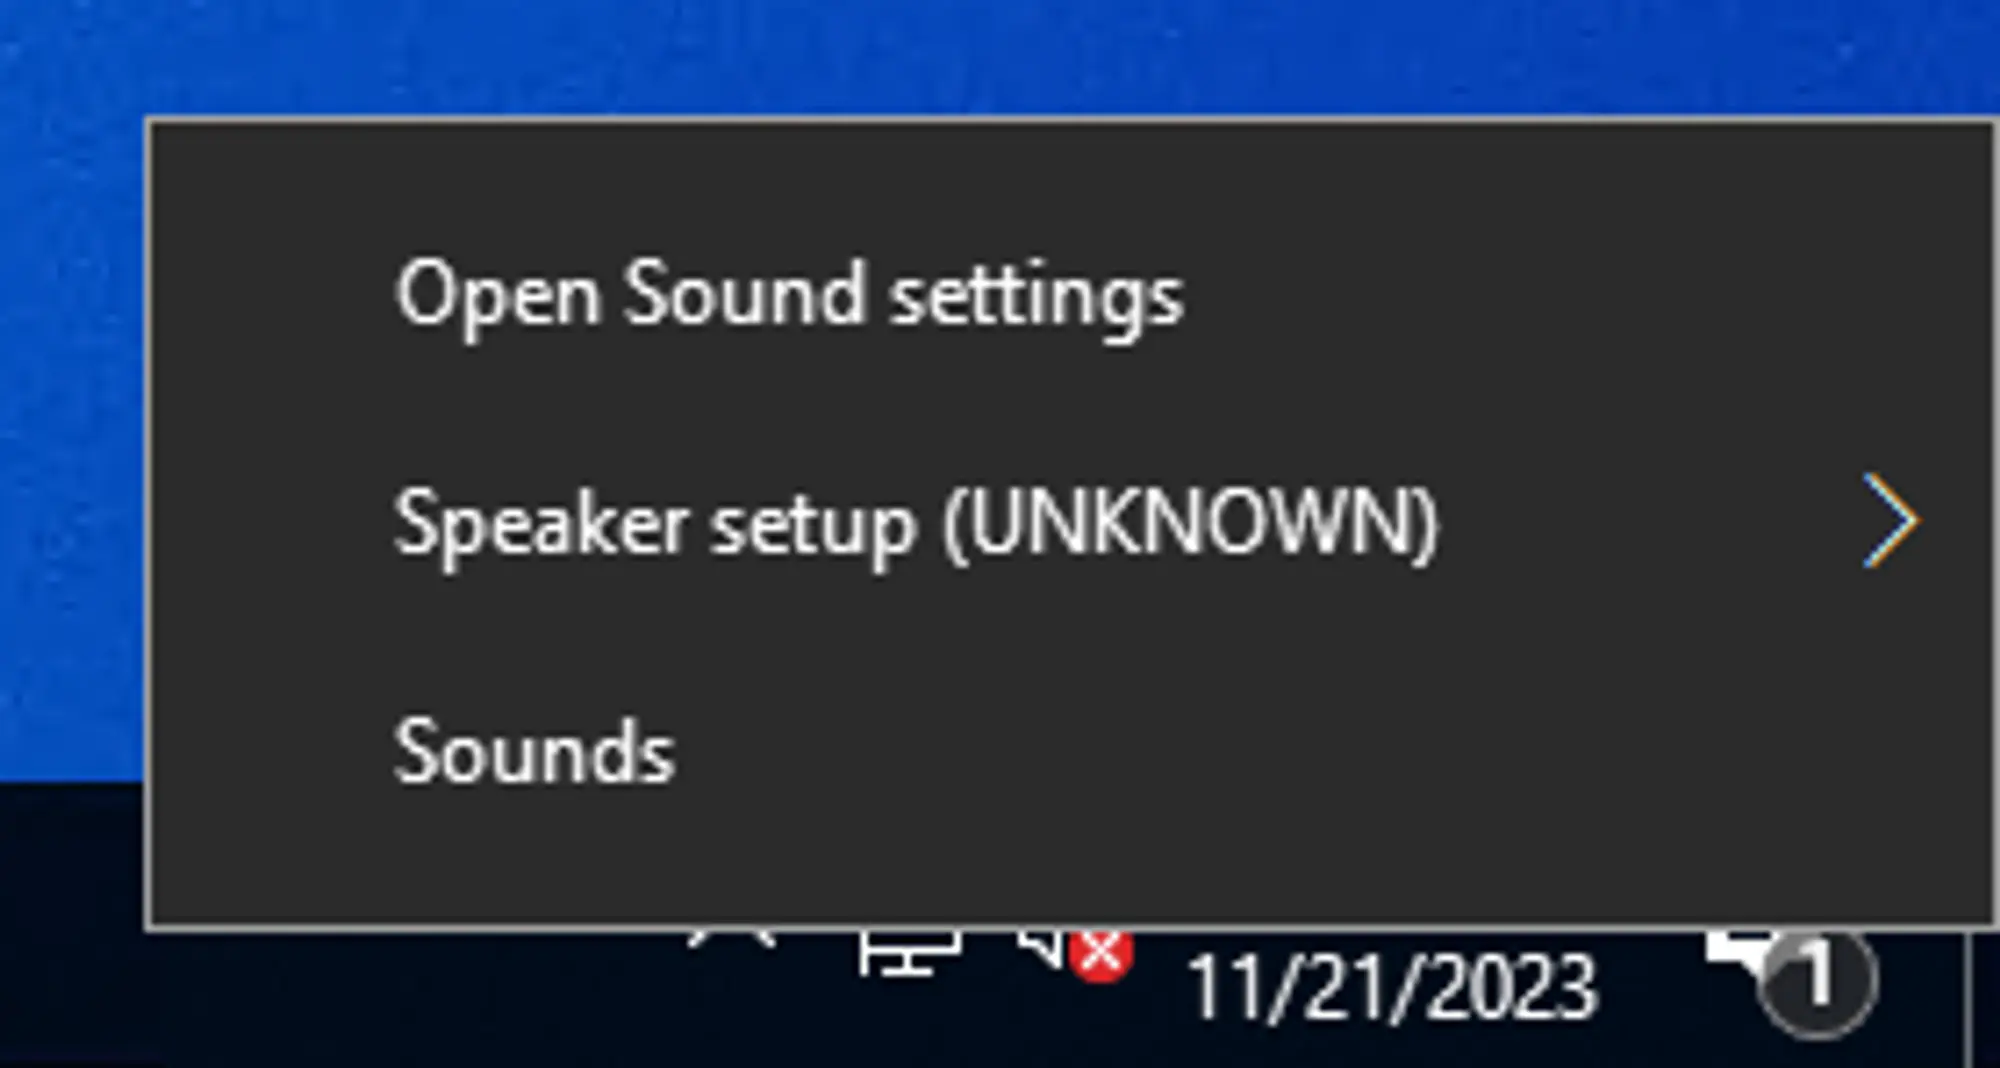
To enable it, you’ll want to right click the sound icon and click the Sounds option from the context menu. This will show the dialog box shown in the image below.
 Loading...
 Loading...
 Loading...
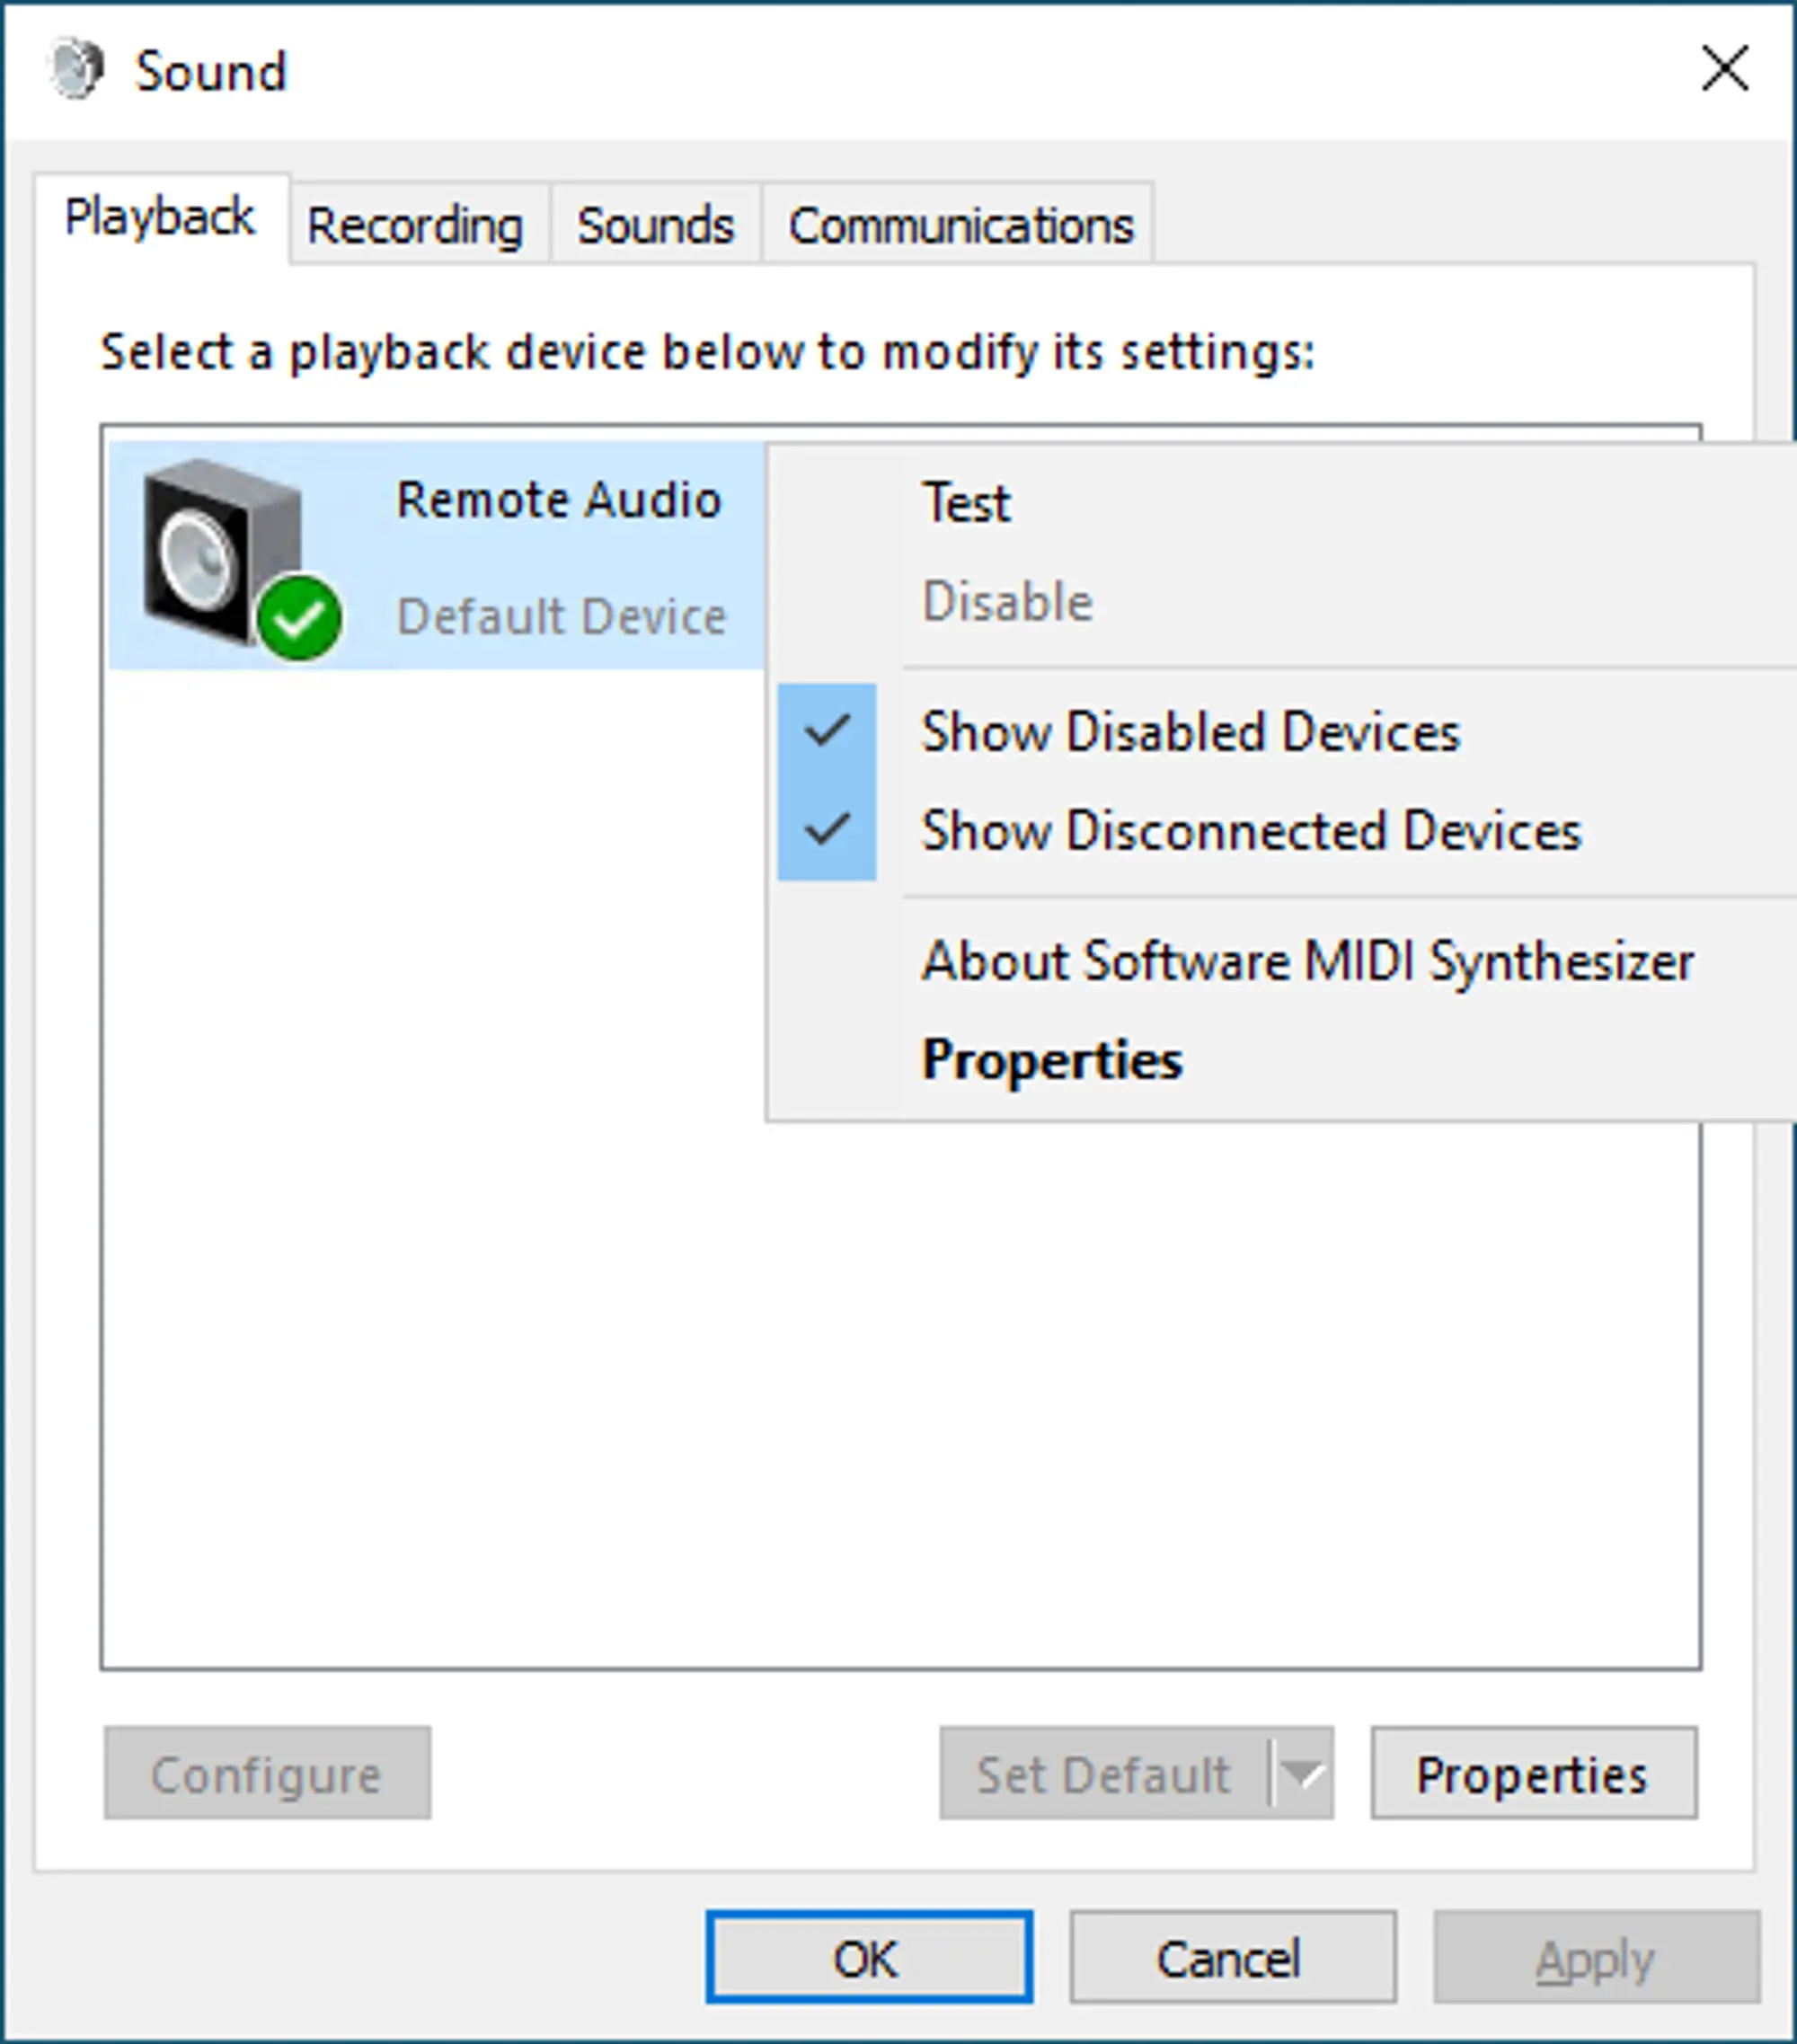
Simply clicking Yes on the dialog box will enable the Audio Service and begin playing sounds over the RDP session. You can test this by navigating to the Playback tab of the Sound window that will now open, right clicking on the Remote Audio device, and clicking Test. That should play a test sound over your home PC’s default output device.
 Loading...
Toubleshooting your Sound
If you’ve enabled sound using the steps above, but still aren’t getting any sound to play through your PC’s speakers you can try some of the steps below to make sure it’s setup in all of the places required.
Configure your Remote Audio Output
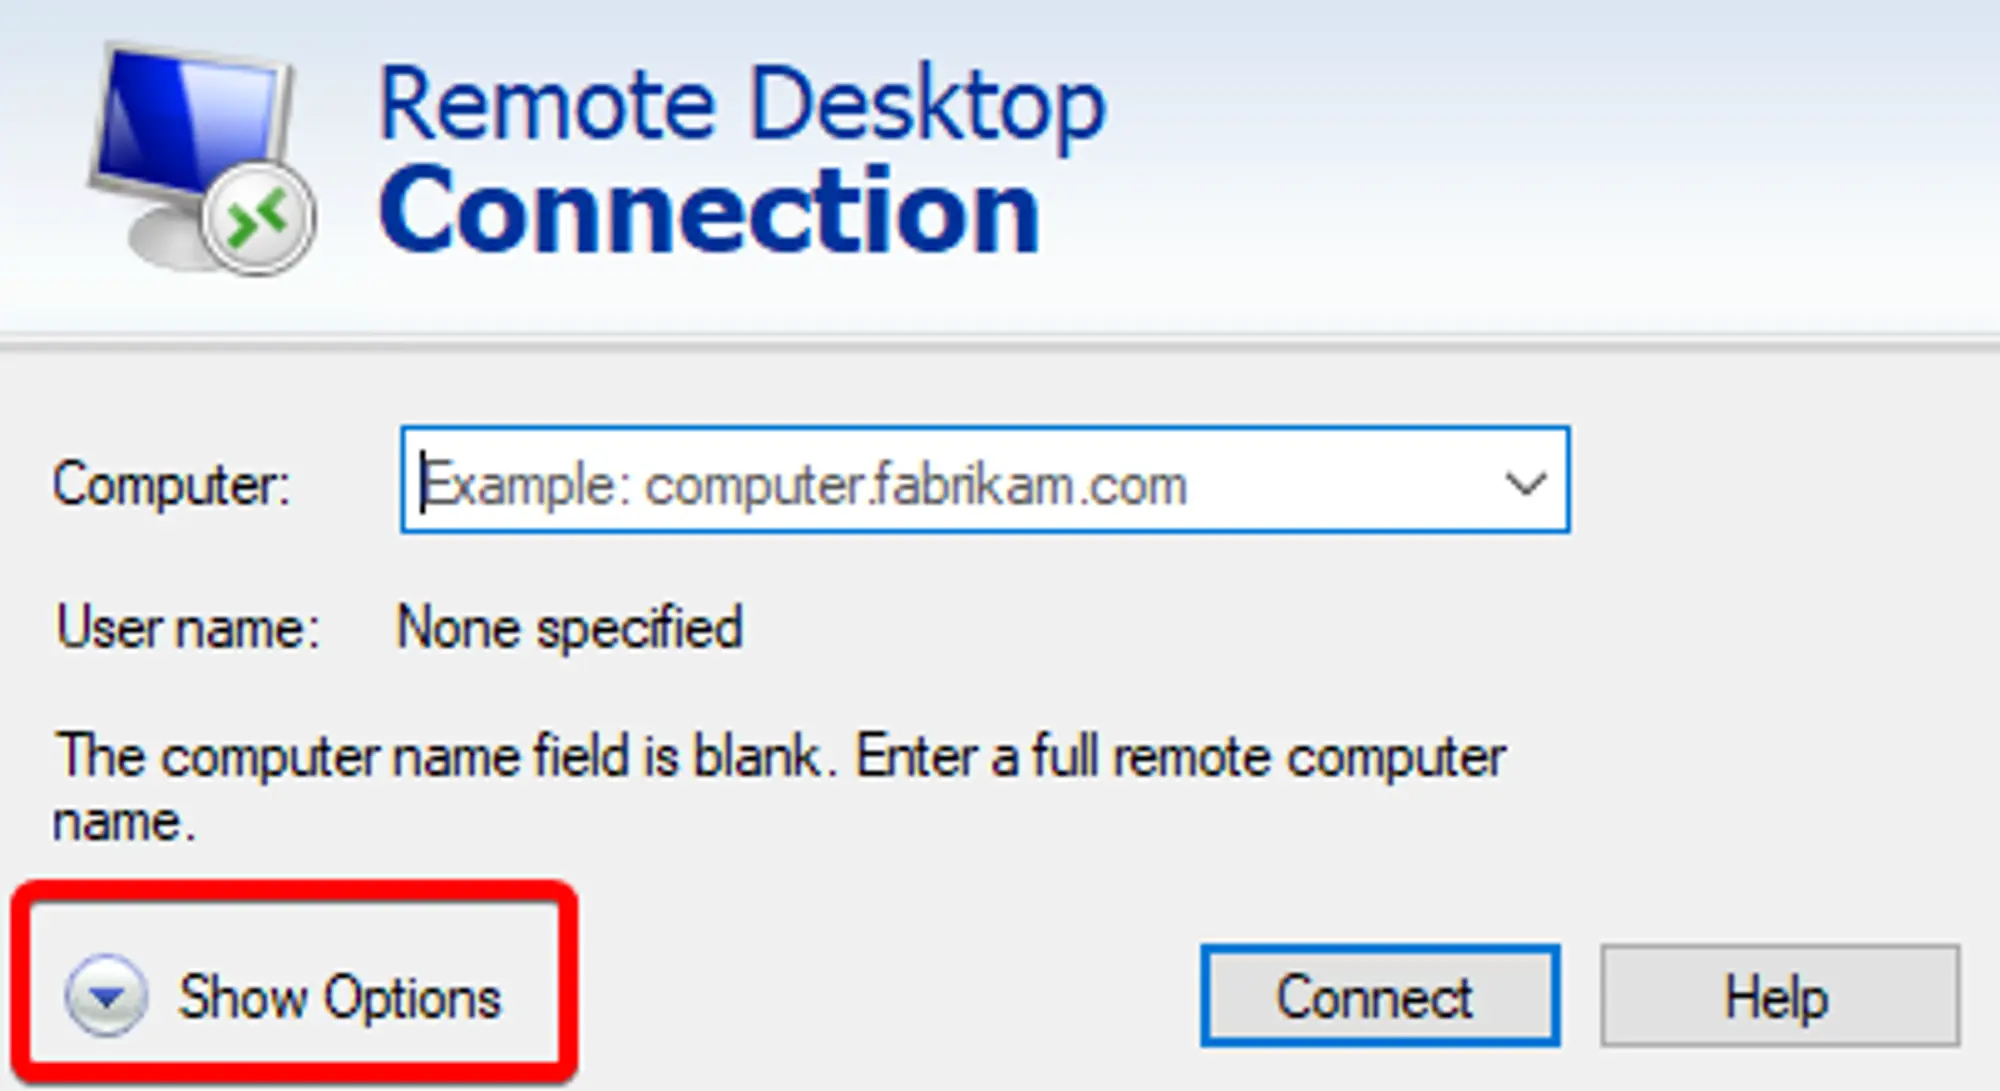
You may need to configure the RDP client to send the audio output to your PC instead of just enabling the audio driver on the server. To do so, start the RDP client and don’t log into the server. From the log in screen click on the drop down labeled Show Options, located on the bottom left of the window.
 Loading...
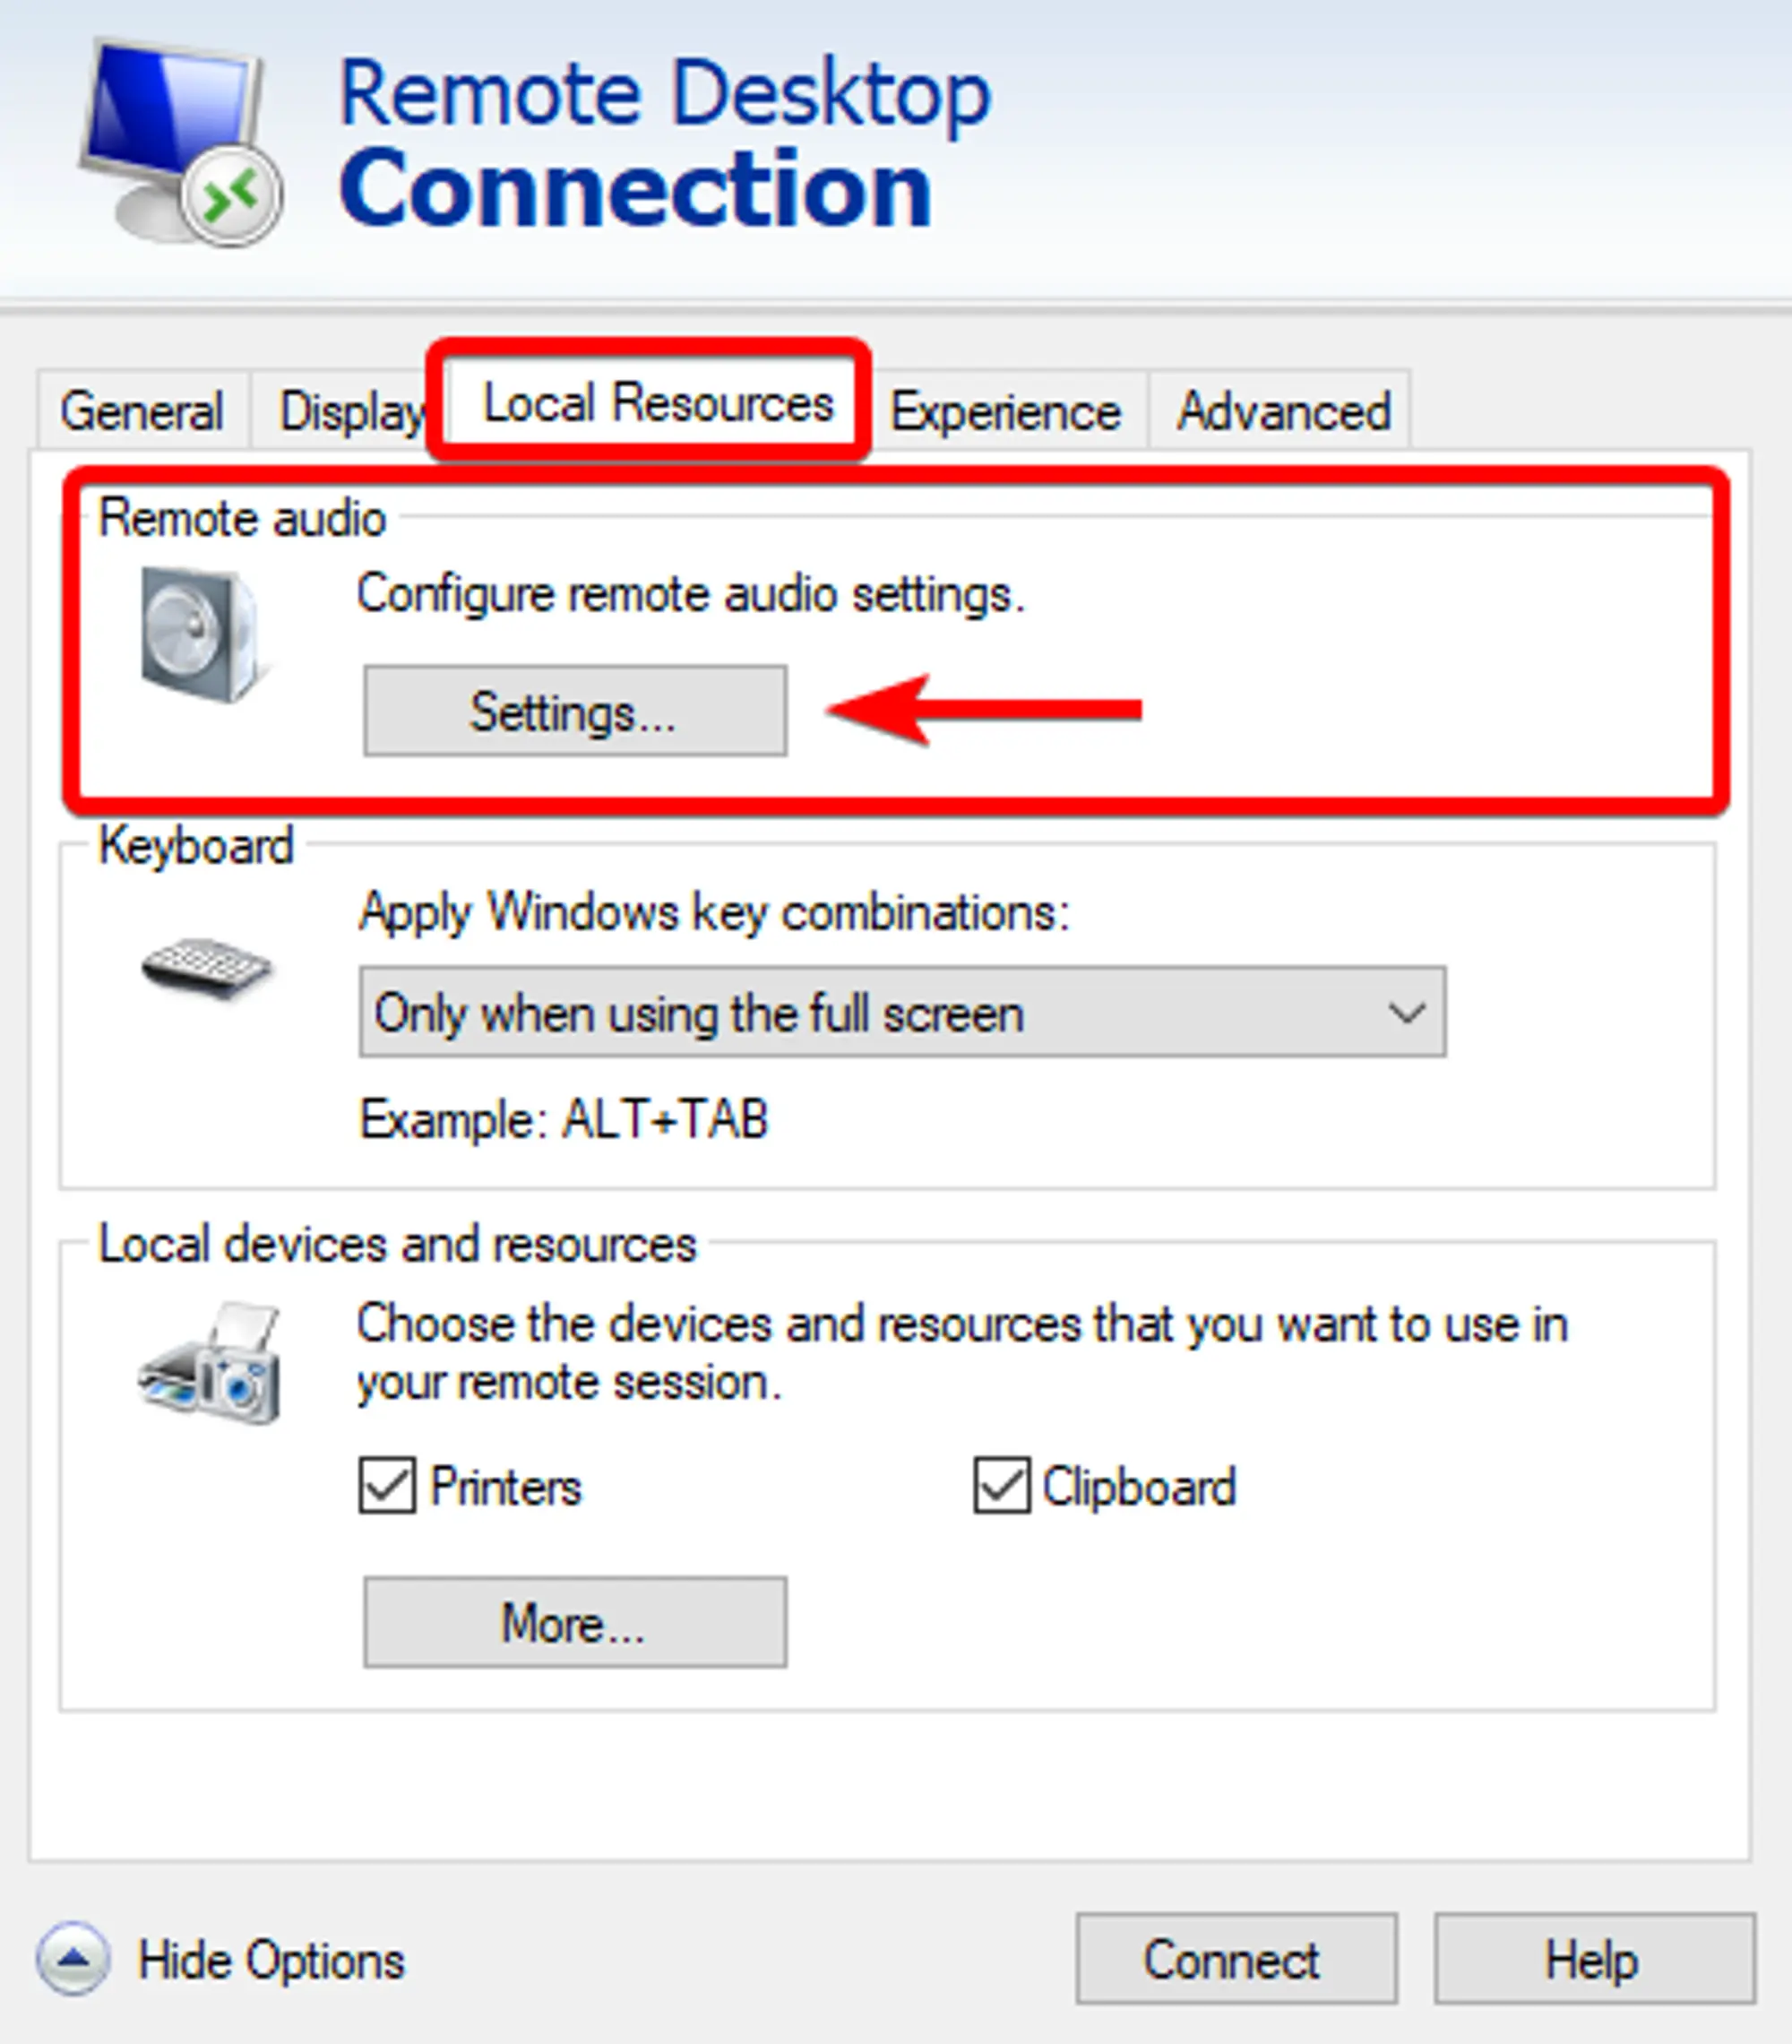
Once there, you’ll want to select the Local Resources tab and then click the Settings button in the Remote Audio section that’s located at the top of the window.
 Loading...
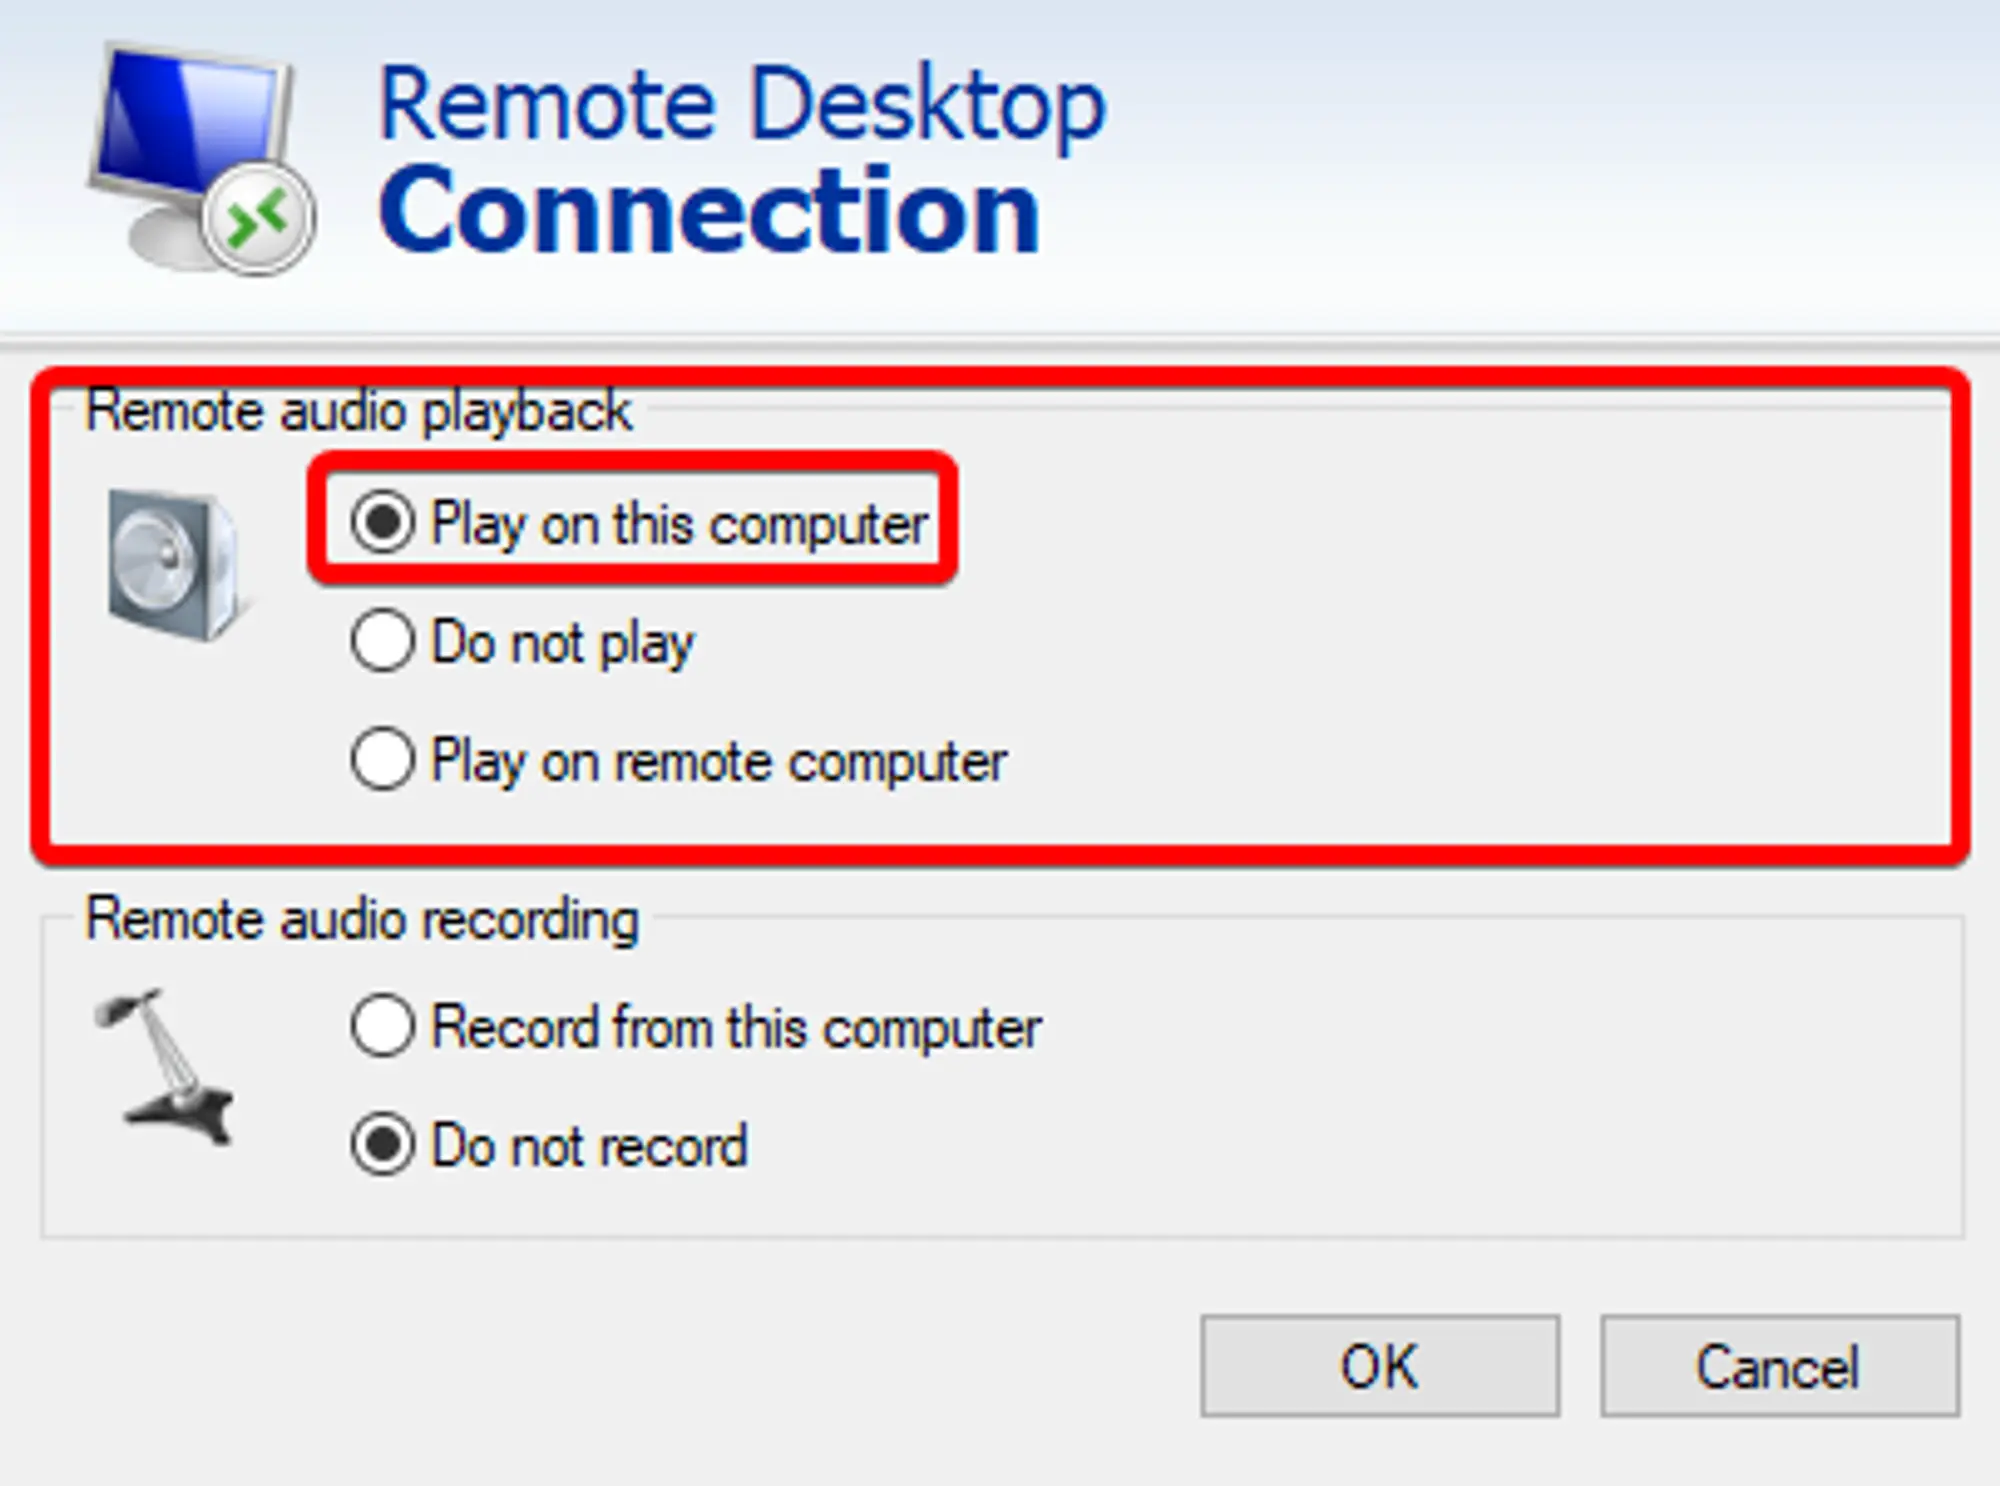
With the Remote audio → Settings window open, you’ll want to make sure that the Play on this computer radio button is selected. It’s the top button on the Remote audio playback list.
 Loading...
Restart the Windows Audio Service
Sometimes the Windows Audio Service can break and will need to be restarted. You don’t need to restart your entire PC to restart this one service though, and it can be very easy to just restart the one service in order to check if that was the problem.
 Loading...
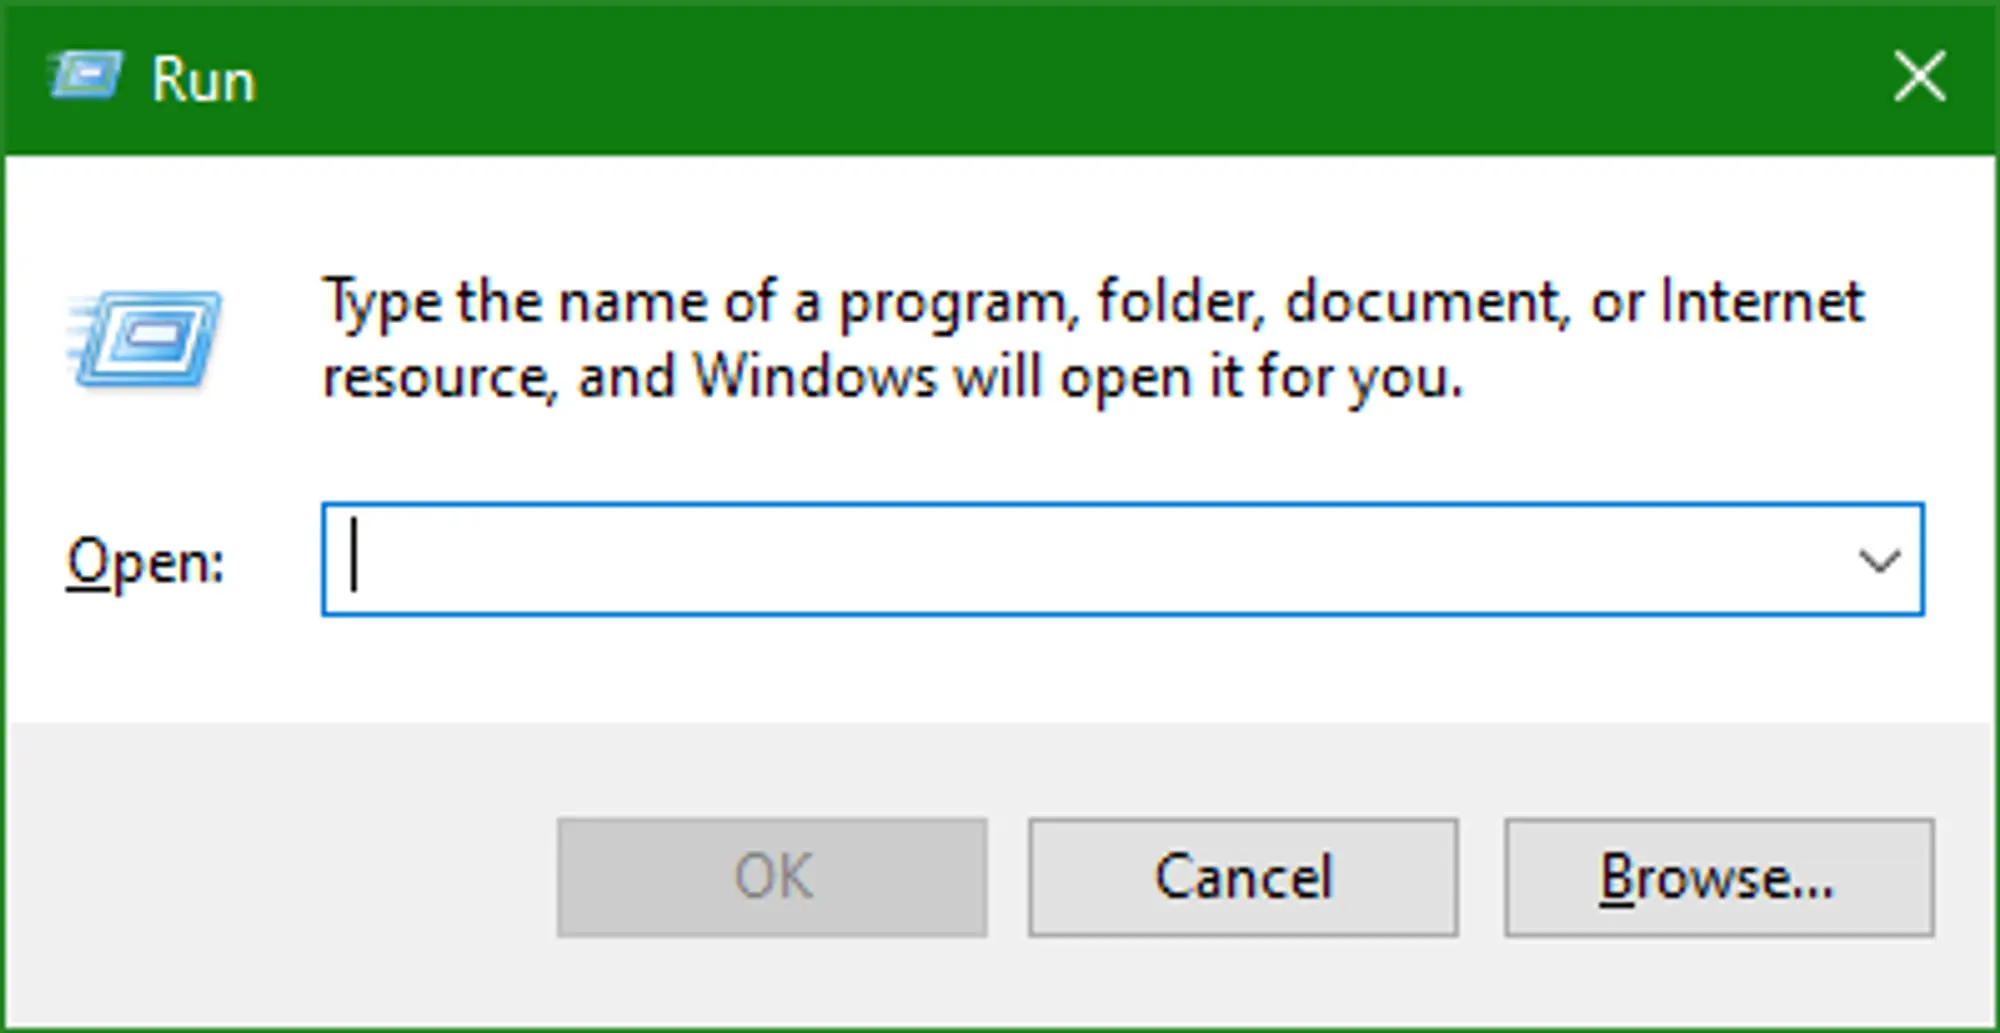
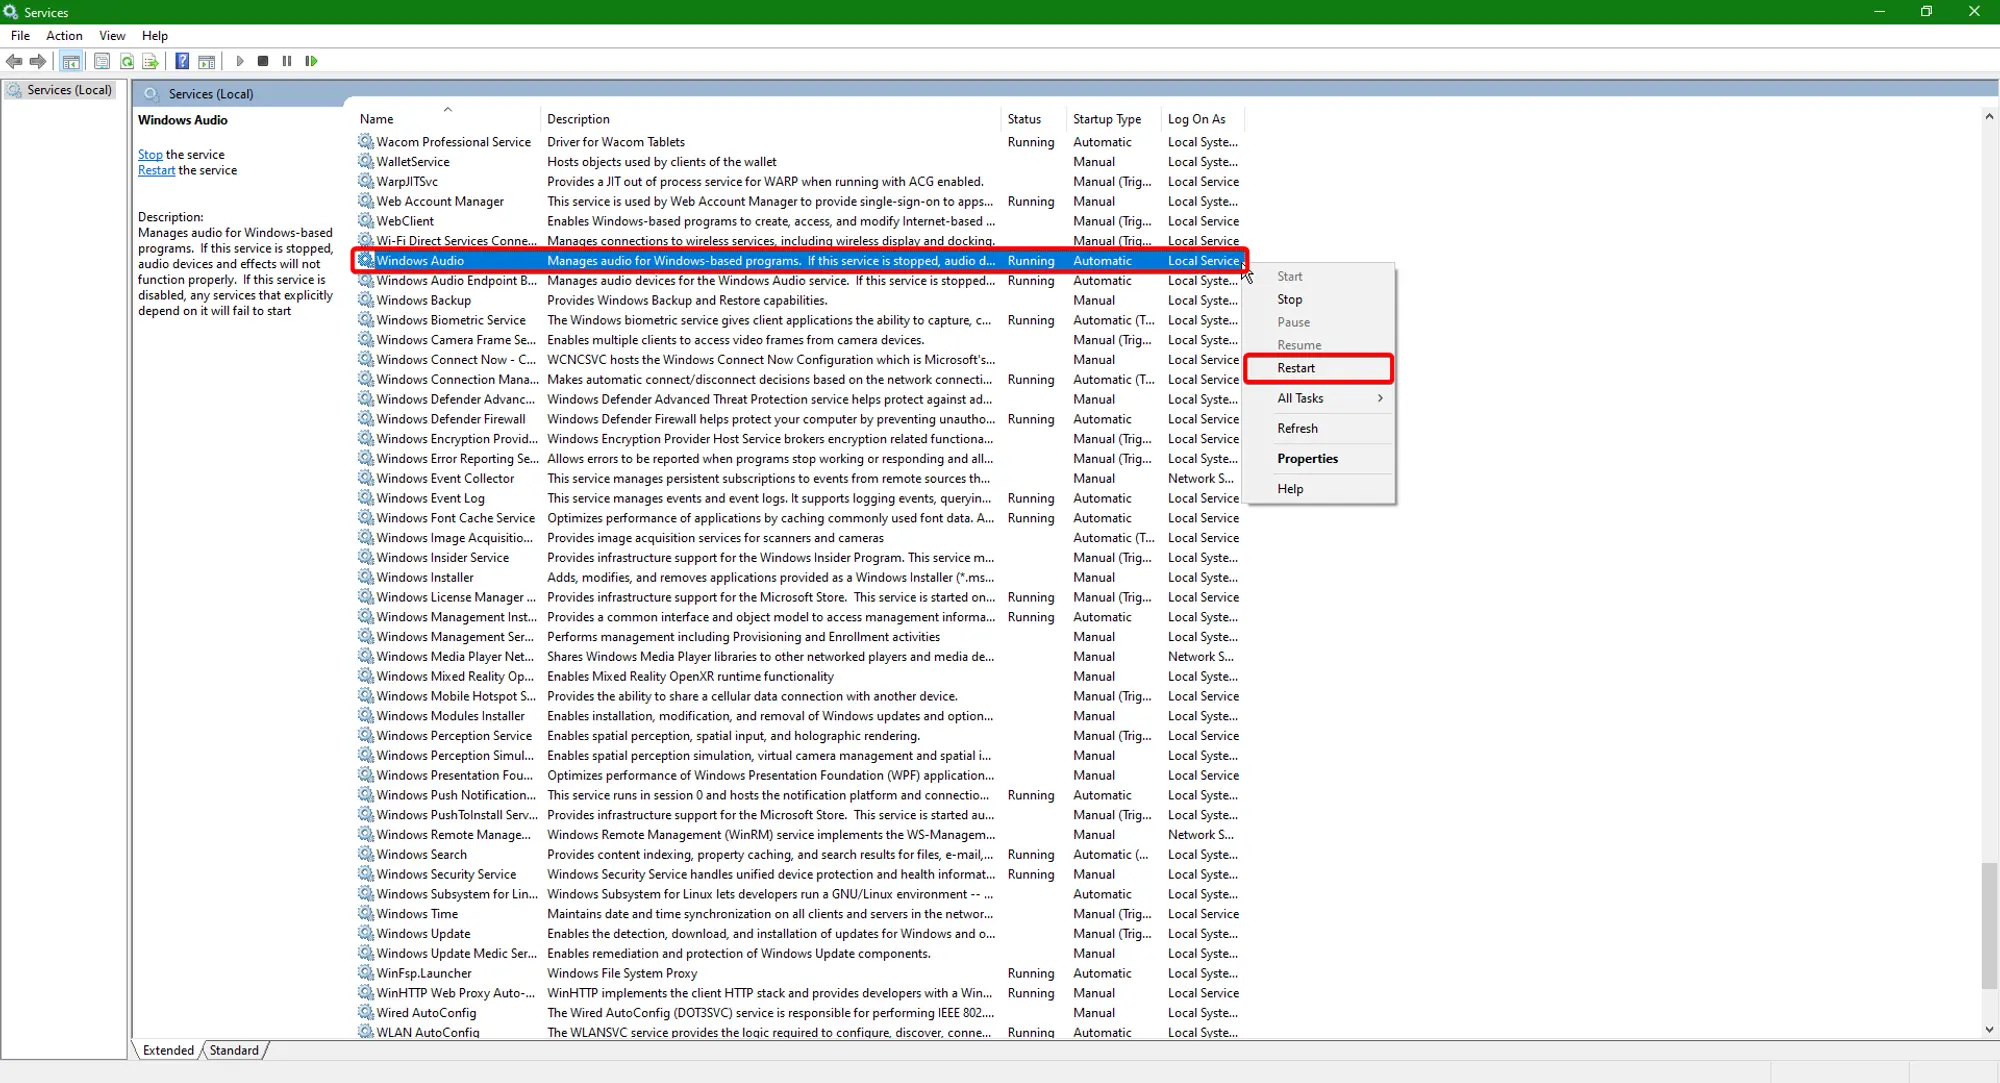
With the Run command window open, you need to type services.msc and either click OK or press enter. This will open the Service Control Manager which lists all of the installed services, allowing you to control them. In this case you want to locate the Windows Audio service, right click on it, and select restart from the context menu. An example of the service control manager and the location of the Windows Audio service is shown in the image below.
 Loading...
Adjust the App Sound
Windows 10 and 11 have the ability to adjust the volume level for specific applications separate from the overall system volume level. This means that the volume level for the RDP application might be muted, on a different device, or otherwise too quiet for you to hear.
To confirm that the volume level for the RDP application is set to an appropriate level, and on the same device, you’ll want to right click on the sound icon in the notification area of your task bar and select “Open sound settings”. Then at the bottom of the settings window that opens, under the header “Advanced sound options”, will be an option that says “App volume and device preferences”. Select that and locate the RDP application in the list, confirm that both of the devices are set to “default” and that the volume slider is set to 100.