Installing Windows Features
Windows includes a number of features that are available to install but disabled by default. The process for enabling them on Windows Server is a bit different from enabling them on Windows 10/11, but the features are largely the same.
Some roles and features require additional licensing. If you install a role or feature that requires a license not covered by your current Windows edition, you will need to purchase that license separately or remove the role/feature.
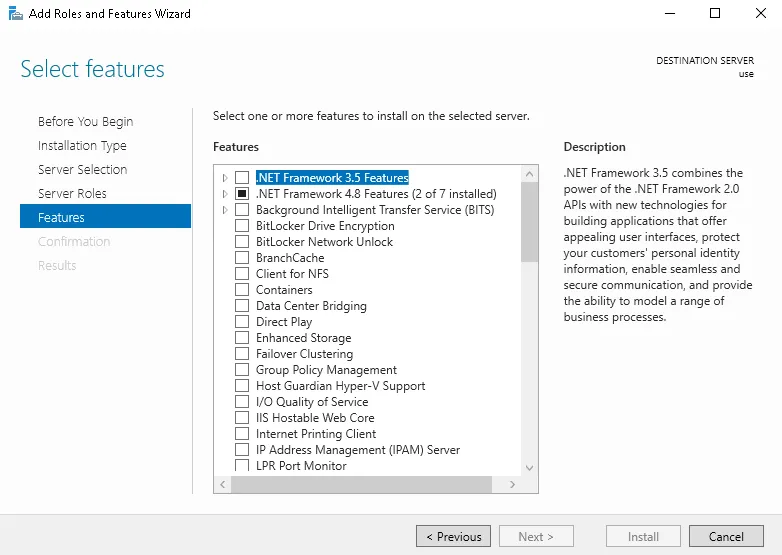
In this tutorial, we are going to install .Net 3.5, which DOES NOT require any additional licensing. You can follow the steps outlined below for other roles/features as needed by selecting them in Step 4.
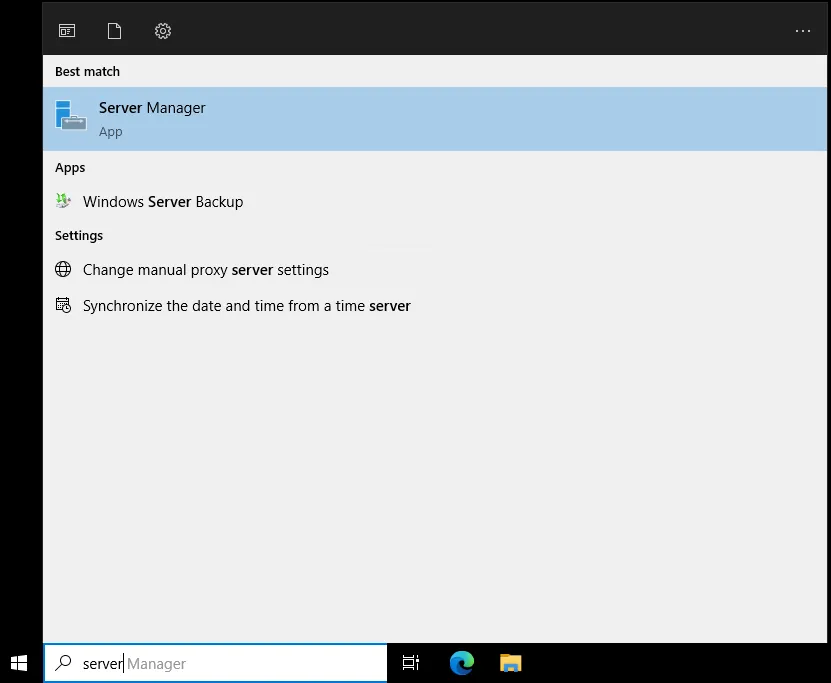
- Start by opening the "Server Manager".
 Loading...
- Select the "Manage" -> "Add roles and Features" button from the menu buttons on the top right.
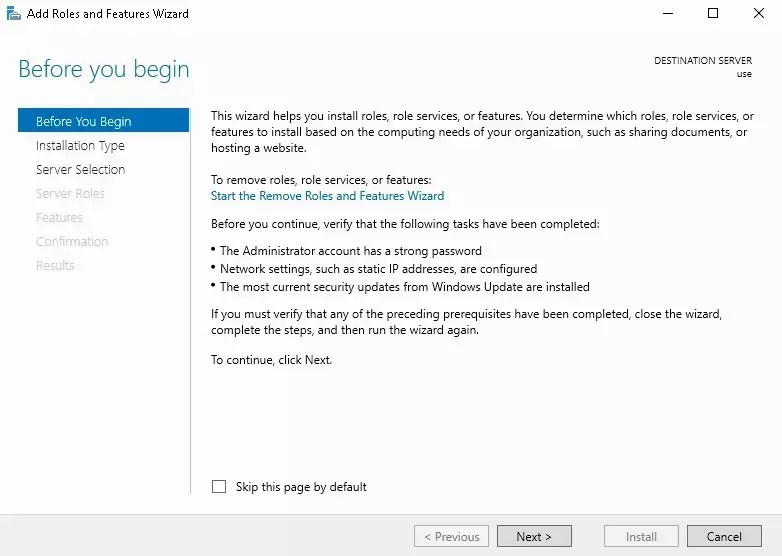
- This will open a "Wizard" which has a number of options other than "Select Features".
 Loading...
Loading...
- You can click "Next" with all of the default options selected until you get to "Select Features".
- Select the features you want to enable/disable from the "Features" list.
 Loading...
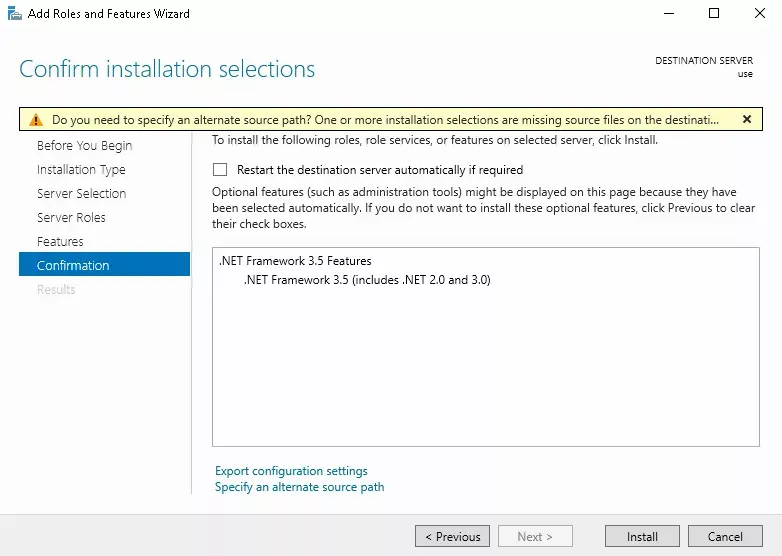
- Use the "Next" and "Confirm" buttons.
- You'll get a list of the features you've selected to be changed and be provided an option to "Restart if Needed".
 Loading...
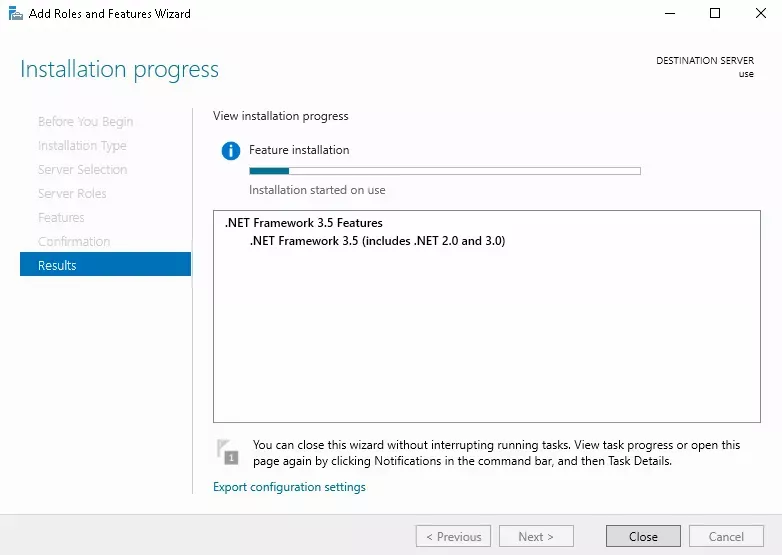
- Wait for the installation to finish.
 Loading...